

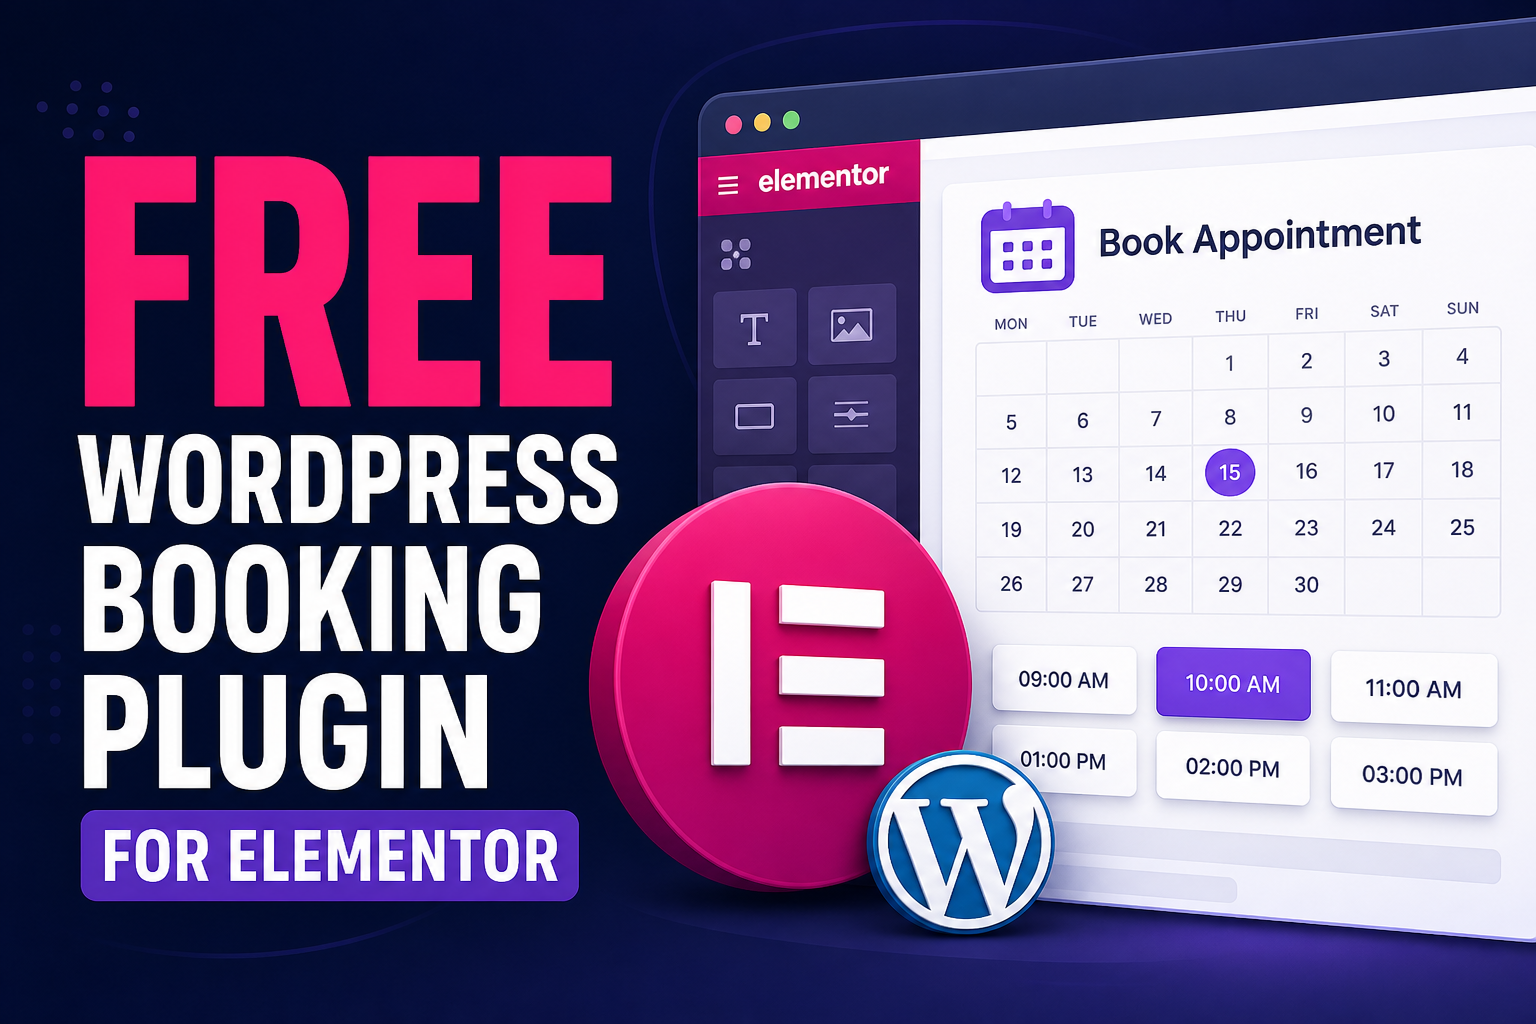
Quick answer: Creavi is a free WordPress booking plugin for Elementor. Add it through Elementor’s Shortcode widget and choose a popup booking button or an inline appointment calendar—no custom code or Elementor Pro required.
Use popup booking when you want a compact call to action. Use inline booking when availability should remain visible on a dedicated service or booking page.
Fast setup: install Creavi, create a service, set your availability and paste the supplied shortcode into Elementor. You can publish a working booking experience in just a few minutes.
If you haven’t created a service yet, follow the WordPress appointment booking setup guide first; it takes about 5 minutes.
Can you add a booking calendar to Elementor for free?
Yes. Elementor supports WordPress shortcodes through its Shortcode widget, and Creavi provides separate shortcodes for popup and inline booking. You can create your service and availability in WordPress, copy the relevant shortcode, and place it anywhere in an Elementor page.
You do not need Elementor Pro to use the Shortcode widget. You also do not need WooCommerce or a separate hosted scheduling account for the basic booking flow.
Elementor’s own documentation confirms that its Shortcode widget can display plugin content and custom functionality inside a page or template.
Popup or inline booking: which method should you choose?
On a small screen, swipe horizontally to compare all columns.
| Method | Best for | How it appears | Page space |
|---|---|---|---|
| Popup booking | Landing pages, hero sections, service cards and repeated calls to action | A button opens the booking flow in a focused overlay | Minimal until opened |
| Inline booking | Dedicated booking pages and high-intent service pages | The booking calendar is visible directly in the page layout | Requires a full-width or spacious section |
Neither method is universally better. Popup booking keeps a designed landing page clean, while inline booking removes a click and immediately shows visitors that appointments are available.
Before adding Creavi to Elementor
Complete these steps in WordPress first:
- Install and activate Creavi Appointment Booking Calendar.
- Create a service in the WordPress dashboard.
- Set the appointment duration, available dates and weekday time slots.
- Choose the meeting format: in person, by phone, with a custom online link, or with Creavi’s built-in secure video conferencing for online appointments.
- Configure the customer form, confirmation email and optional reminders.
- Save the service and note its service ID.
Test availability before building the Elementor section. A polished page cannot compensate for missing time slots or an incorrectly configured service.
Method 1: add a popup booking button to Elementor
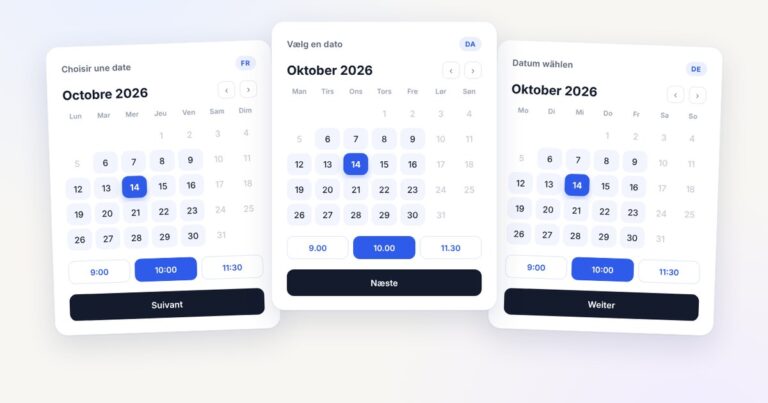
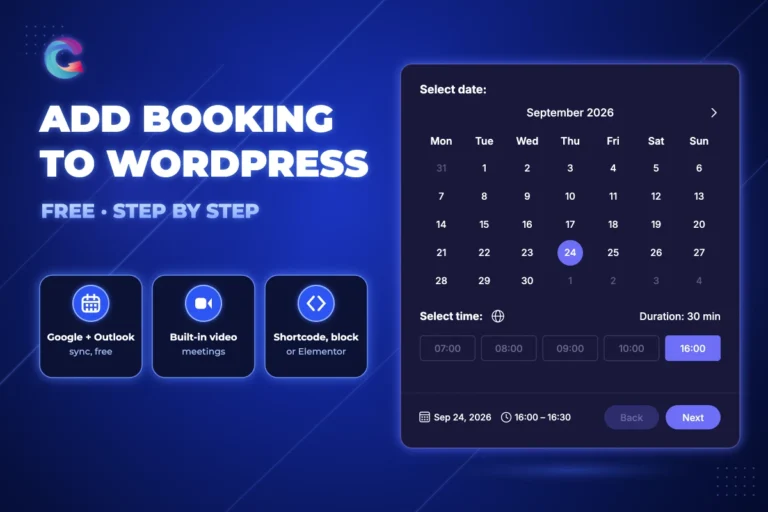
The popup method places a booking button anywhere in your Elementor design. When a visitor selects it, the booking interface opens over the current page and guides them through date, time and contact details.
Popup shortcode
[creavibc_booking_button id="123"]Replace 123 with the ID of your Creavi service.
How to add the popup button
- Open the page you want to edit and select Edit with Elementor.
- Add a container or select the existing section where the booking call to action should appear.
- Search the Elementor widget panel for Shortcode.
- Drag the Shortcode widget into the container.
- Paste the Creavi popup shortcode and replace the example ID with your service ID.
- Update the page and preview it in a new browser tab.
- Select the booking button and complete a test appointment.
If the booking flow does not appear fully inside the Elementor editor, preview the public page before troubleshooting. Elementor notes that some shortcodes do not render completely in the editor even though they work correctly on the front end.
Where popup booking works best
- Hero sections with a primary “Book an appointment” action
- Pricing or service cards
- Consultant and team-member profiles
- Long landing pages with several booking calls to action
- Mobile layouts where vertical space is limited
You can place multiple Creavi booking buttons on one Elementor page. Each shortcode can reference a different service, making this useful for pages that present several appointment types.
Method 2: embed an inline booking calendar in Elementor
The inline method displays the complete booking interface within the Elementor page. Visitors can choose a date and time without opening an overlay.
Inline shortcode
[creavibc_booking_inline id="123"]Again, replace 123 with the correct service ID.
How to add the inline calendar
- Open your booking or service page in Elementor.
- Add a new container where the calendar should appear.
- Give the container enough width for the calendar and booking fields.
- Drag Elementor’s Shortcode widget into the container.
- Paste the Creavi inline shortcode with your service ID.
- Check Elementor’s tablet and mobile views for spacing around the widget.
- Update the page, open the front-end preview and complete a test booking.
Where inline booking works best
- A dedicated “Book now” page
- A service page where booking is the primary conversion
- A consultant or therapist profile with one main appointment type
- A contact page that should provide immediate availability
- A campaign page for a specific consultation or introductory session
Avoid placing the inline calendar in a narrow sidebar. A central container with clear spacing gives dates, time slots and form fields room to remain readable across screen sizes.
How to design a higher-converting Elementor booking page
Explain the appointment before showing the calendar
Visitors should understand what they are booking, who it is for, how long it takes and where it happens. Place a clear service name, short benefit-led description, duration and meeting format above the booking button or calendar.
Use one primary booking action
Avoid presenting several equally prominent buttons beside the calendar. Keep the main action focused on booking and move secondary links—such as contact information or documentation—below it.
Set expectations near the form
Tell customers what happens after they book. For example: “You will receive an email confirmation and calendar invitation immediately.” Only promise the actions you have enabled for that service.
Keep custom fields purposeful
Every extra field creates more work for the visitor. Ask only for information needed to prepare or deliver the appointment. If you need consent, Creavi can add a customizable GDPR or privacy checkbox with a link to your privacy policy.
Test the complete mobile journey
Do not stop after checking Elementor’s responsive preview. Open the published preview on a real phone, select a date and time, complete the form, and confirm that the email and calendar event contain the correct information.
Why Creavi works as a free Elementor booking plugin
The shortcode is only the embedding method. The free Creavi plugin also provides the scheduling workflow behind the Elementor page, so you do not need Elementor Pro or a paid calendar add-on for the features below.
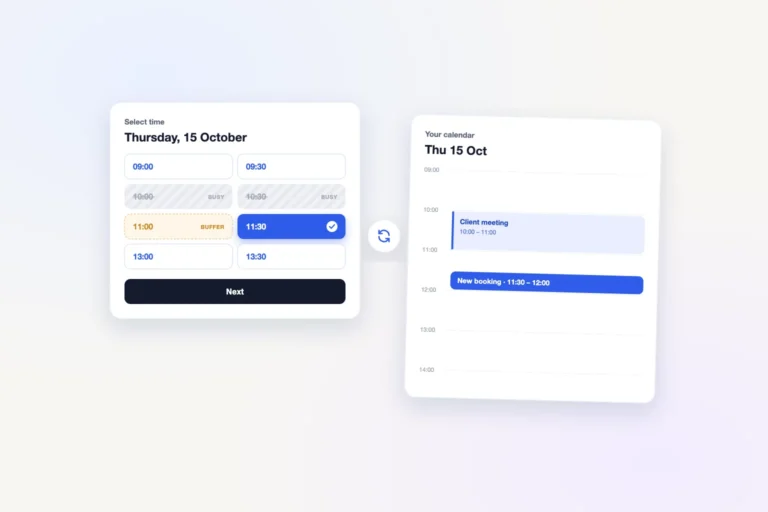
- Free Google Calendar and Outlook connections for event creation and busy-time checking.
- iCalendar (.ics) appointment files for compatible calendar applications.
- Built-in secure video conferencing for online appointments, plus phone, in-person and custom-link appointments.
- Customer and administrator confirmations and reminder emails.
- Minimum notice, booking buffers, excluded dates and timezone controls.
- Custom form fields, brand colors and responsive popup or inline presentation.
This combination makes Creavi a flexible, all-purpose appointment-booking solution for businesses and professionals across industries. The clean booking experience works for online and in-person appointments without another monthly scheduling fee. Review the complete free WordPress appointment booking plugin guide or the latest Creavi booking feature updates.
Useful Creavi settings for Elementor websites
- Brand color: align the booking interface with the Elementor page palette.
- Localized or locked timezone: show times in the visitor’s timezone or keep the business timezone fixed.
- Google Calendar integration: create booking events and remove busy times from availability. See the Google Calendar booking guide.
- Outlook Calendar integration: create Microsoft calendar events and block busy times. See the Outlook Calendar integration guide.
- Booking buffers: protect preparation or travel time between appointments.
- Automatic reminders: send separate customer and administrator reminders before the appointment.
- Multiple services: add different popup or inline widgets to the same Elementor page.
Common Elementor booking problems
The shortcode appears as text
Make sure you used Elementor’s Shortcode widget—not a Heading widget—and pasted the shortcode with normal square brackets. Confirm that Creavi is active and that the shortcode name is spelled correctly.
No available time slots appear
Check the service’s available date range, excluded dates, weekday schedule, minimum notice and timezone. Connected Google or Outlook events may also remove busy periods from the calendar.
The wrong service opens
Check the number in the shortcode. Each service has its own ID, so copying a shortcode from another Elementor section can accidentally link the button or calendar to the wrong appointment type.
The inline calendar feels cramped
Move it into a wider Elementor container and reduce unnecessary column nesting. Review container padding at desktop, tablet and mobile breakpoints.
Frequently asked questions
Does Creavi work with Elementor Free?
Yes. Creavi uses WordPress shortcodes, and Elementor Free includes a Shortcode widget that can display them.
Do I need Elementor Pro for a booking popup?
No. The booking popup is generated by Creavi’s booking-button shortcode. It does not require Elementor Pro’s Popup Builder.
Can I display several booking services on one Elementor page?
Yes. Add multiple Shortcode widgets and use the appropriate service ID in each popup or inline shortcode.
Can I use a normal Elementor Button widget instead?
The simplest supported approach is to use Creavi’s popup shortcode inside the Shortcode widget. This ensures the button is connected to the correct booking behavior.
Can Elementor visitors book in their own timezone?
Yes. Creavi can localize available times to the visitor’s timezone. You can also lock a service to the business timezone when appointments must follow a fixed local schedule.
Can the booking create Google or Outlook Calendar events?
Yes. Creavi can create events in a connected Google or Outlook Calendar and check connected calendars for busy times. Calendar behavior depends on the options enabled for the service.
Add appointment booking to your Elementor page
Choose a popup button when you want a compact call to action that fits anywhere in your design. Choose an inline calendar when booking is the page’s main purpose and visitors should see availability immediately.
Both methods keep the booking journey inside WordPress and can be added to Elementor without custom development. Download Creavi Appointment Booking Calendar for free, create your first service, and test the popup and inline layouts on your own page.
For a broader feature overview, read about the free WordPress booking plugin with Google Calendar, Outlook and built-in video conferencing for online appointments or visit the Creavi documentation.
6 Comments
[…] If your website uses Elementor, see the guide to adding popup and inline appointment booking with Elementor. […]
[…] your pages use Elementor, follow the WordPress booking plugin for Elementor guide to add either […]
[…] can show the finished booking flow as an inline calendar or open it from a popup button. The Elementor booking guide explains both methods, and the Creavi booking demo shows the customer […]
[…] Sync · Outlook Calendar Integration · Online Appointment Booking with Video Conferencing · Free WordPress Booking Plugin for Elementor · Live […]
[…] page and paste the button shortcode. Use the inline shortcode instead for an embedded calendar. Our Elementor guide covers […]
[…] publish the calendar inline or in a popup with Gutenberg, Elementor or another page builder. Our Elementor booking guide shows both […]