

Last updated: 24 September 2026 · Tested with WordPress 7.1.2 and Creavi 1.6.1
Quick answer: To add free appointment booking to WordPress, install Creavi from WordPress.org, create a service, set your availability, then add it to any page with a shortcode, block or Elementor widget. It takes about 5 minutes, and Google/Outlook sync and video meetings are free.
This guide covers every setting, from an empty site to a working booking page. Creavi Appointment Booking Calendar is a free WordPress booking plugin with Google and Outlook Calendar sync, built-in video meetings and no booking limits. We build it, so we note where it fits and where it doesn’t.
The short version: 7 steps
What you need: a WordPress site, 5 minutes, $0.
- Install and activate Creavi from Plugins → Add Plugin.
- Create a service with a name, duration and description.
- Pick your available days and weekday time slots.
- Set a buffer, minimum notice and timezone.
- Connect Google Calendar or Outlook (optional, free).
- Choose a meeting type: in person, phone, link or built-in video.
- Paste the shortcode, add the block or use Elementor, then make a test booking.
Download Creavi free from WordPress.org →
Want to see the result first? Book a test slot on the live demo.
Step 1: Install Creavi from WordPress.org
You install Creavi like any other free plugin, from your WordPress dashboard. No account, licence key or credit card is needed.
Go to Plugins → Add Plugin, search for “Creavi Appointment Booking Calendar”, click Install Now, then Activate. A new Creavi Booking menu appears in the sidebar.
Tip: Creavi needs WordPress 6.0+ and PHP 7.4+. Most hosts meet this; check Tools → Site Health if unsure.
Step 2: Create your first bookable service
A “service” is one thing people can book, such as a 30-minute discovery call. Each service has its own calendar, settings and shortcode.
Open Creavi Booking → Services and click Add New Service. Enter a title, a short description and an image. Pick a duration: 10, 15, 20, 30, 60 or 90 minutes.
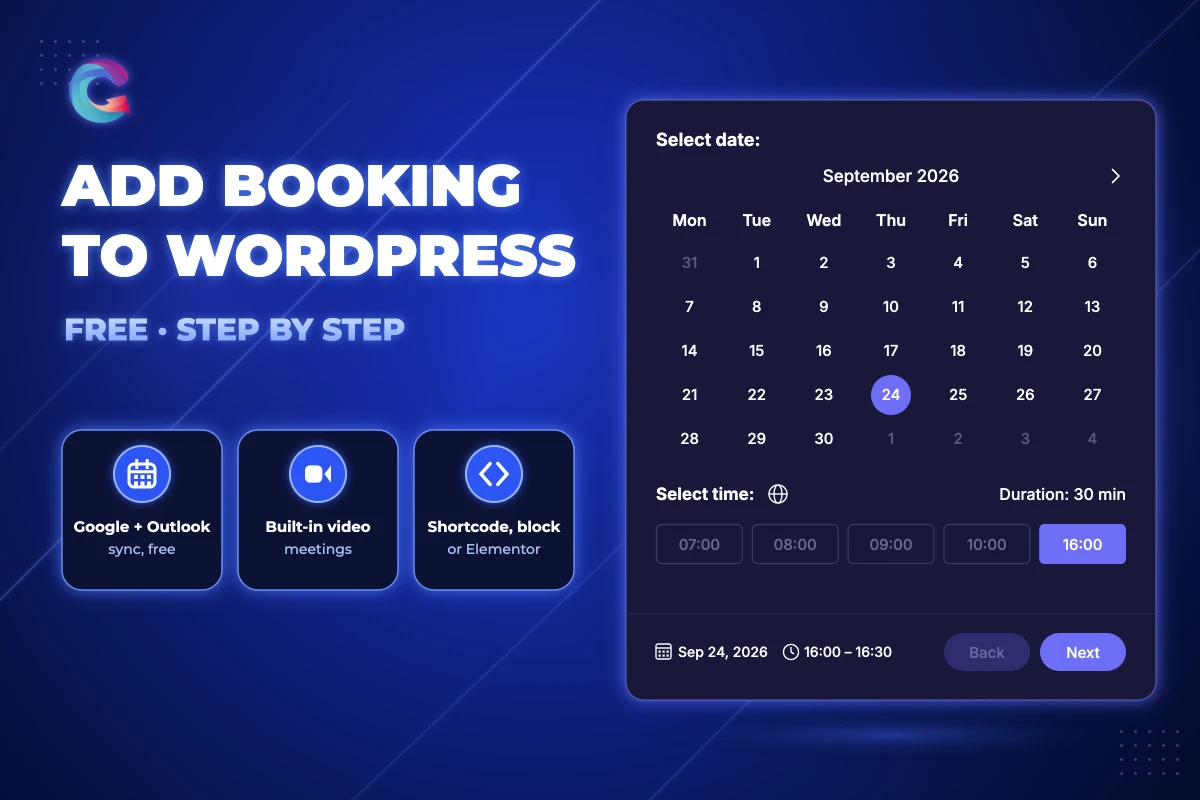
A live preview shows the calendar your clients will see as you type.
Tip: Name the service the way a client would say it (“Free 30-min intro call”), not the way you track it internally.
Step 3: Set your available days and hours
Availability has two parts: which dates are bookable and which times on each weekday.
For dates, use a rolling window (for example “today plus the next 2 months”), which moves forward on its own. Or pick fixed dates in the date picker. Add excluded dates for holidays and days off.
For times, click slots in the weekday grid, for example Monday 9:00–12:00 and Thursday 14:00–17:00. Each weekday can have different slots.
Tip: Start with fewer slots than you think you need. It’s easier to open more times than to cancel booked ones.
Step 4: Add buffers, minimum notice and your timezone
These three settings prevent back-to-back calls, last-minute surprises and wrong-hour meetings.
- Buffer (5–60 min): free time added after each appointment. It also applies around events from a connected calendar.
- Minimum notice: how far ahead someone must book, such as 12 hours.
- Timezone mode: Locked shows times in your business timezone. Localized converts slots to each visitor’s timezone.
You can also choose a 12-hour (3:00 PM) or 24-hour (15:00) clock and the calendar language per service, with 67 language options.
Tip: Use Localized for online calls with international clients. Use Locked for in-person appointments, where the local time is what matters.
Step 5: Connect Google Calendar or Outlook (free)
Yes, you can sync WordPress bookings with Google Calendar for free. Creavi connects each service to Google Calendar or Outlook Calendar at no cost, with no separate sync subscription.
Once connected, every new booking becomes a calendar event. With availability sync on, busy events in that calendar are removed from your booking page, which prevents double bookings.
If Google or Outlook can’t be reached, Creavi 1.6.1 keeps your locally free slots bookable and shows a private warning in the service editor. Reconnecting clears it.
Tip: Google sync uses your Primary calendar. Put personal events there too if they should block bookings.
Want the full walkthrough? Read our Google Calendar sync guide or the Outlook integration guide. Or install Creavi free and connect it now.
Step 6: Choose the meeting type, including free video
Each service has one meeting type: in person, phone call, custom link (Zoom, Teams, Meet) or built-in video.
Built-in video creates a meeting link automatically for each booking, with no Zoom account needed. The client and the host get separate personal links in their emails, reminders and calendar events.
Tip: Using a custom Zoom link? Use a fixed personal meeting room, since every booking gets the same link. More in our video conferencing booking guide.
Step 7: Customize the booking form fields
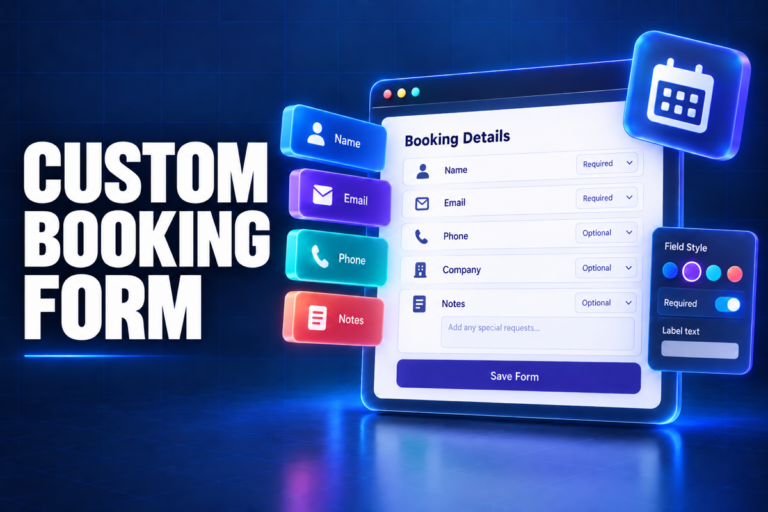
Name, Email and Phone are built in; you can rename, hide or require each one.
Add custom fields: Text, Textarea, Telephone, Number or Date. For GDPR, add a consent checkbox with a link to your privacy policy.
Tip: Every extra field lowers completions a little. Ask only what you’ll read before the call. See custom fields ideas.
Step 8: Set up confirmation emails and reminders
Creavi sends a confirmation to the client and a notification to you after every booking. Both come with an attached .ics file, a standard calendar file any calendar app can open.
Edit templates in a visual editor and insert tags such as {name}, {date}, {time} and {service}. Reminders are separate for clients and admins, each with its own timing, such as 1 day before at 9:00 or 1 hour before.
Tip: Put the meeting link or address in the reminder too, so clients don’t have to search for the confirmation email. Reminder templates support video link tags.
Step 9: Add the booking calendar to a page
You can add Creavi anywhere: with a shortcode, a Gutenberg block or a page builder like Elementor. You can place several services on one page.
Option A: WordPress booking shortcode
Copy the shortcode from the save panel of your service. [creavibc_booking_button id="123"] shows a booking button that opens a popup. [creavibc_booking_inline id="123"] shows the full calendar in the page. Replace 123 with your service ID.
Option B: Gutenberg block
In the block editor, click + and search “Creavi”. Pick the basic booking block, Service Hero (a full hero section with a booking card) or Booking Profile (your photo, bio and a live calendar). Then choose your service in the block settings.
Option C: Elementor (popup vs inline)
To add a booking button in Elementor, drag the Shortcode widget onto the page and paste the button shortcode. Use the inline shortcode instead for an embedded calendar. Our Elementor guide covers styling.
Tip: Each service has its own shortcode, so one page can offer several services, each with its own button.
Step 10: Test a booking before you share the page
A 1-minute test booking catches most setup mistakes before a client does.
Open the page in a private window, book a slot and check three things: the confirmation email arrived (check spam), the event appeared in your calendar, and the time is correct.
Tip: Change your computer’s timezone and book again to see what an overseas client sees.
Step 11: Manage and export your bookings
All bookings appear under Creavi Booking → All Bookings. Select any bookings and export them to CSV or Excel, including custom field answers. CSV files open directly in Google Sheets.
Developers can read services, availability and bookings through the booking REST API added in 1.6.
Tip: Export monthly into a Google Sheet to see which services and weekdays book best.
Popup or inline: which should you use?
Use a popup button when booking is one action among many on the page. Use an inline calendar when booking is the page’s main purpose.
| Popup button | Inline calendar | |
|---|---|---|
| Best use case | Home, service and blog pages; site header | Dedicated “Book a call” or contact page |
| Conversion | Low effort to add many entry points | Dates are visible at once, so no extra click |
| Mobile | Opens a focused full-height view | Scrolls with the page; keep it near the top |
You can use both. The live demo shows each layout.
Real-world setups: 4 recipes
Four starting points for common businesses; adjust hours to fit.
- Coach or consultant: 60 min, built-in video, Localized timezone, 15-min buffer, customer reminder 1 day before. Custom field: “What do you want to work on?” → booking for coaches and consultants
- Clinic or therapist: in person, Locked timezone, 24-hour notice, required phone, consent checkbox, holidays excluded. Keep health details out of form fields. → booking for therapists
- Agency discovery call: 30 min, popup button in the header, Google sync with the sales calendar, fields for website URL and budget. → booking for sales teams
- Repair shop: 60 or 90 min, in person, 1-day notice, Textarea for “device and problem”. → booking plugins for repair services
Troubleshooting: common booking problems and fixes
Most booking issues come from server settings, not the plugin.
- Reminders arrive late: WordPress runs scheduled tasks (WP-Cron) only when someone visits the site. Creavi sends overdue reminders on the next run, but on quiet sites ask your host to call
wp-cron.phpevery 5 minutes with a real server cron. - Calendar shows no times behind Cloudflare: a security rule may be challenging the availability request. Exclude only
/wp-json/creavi-booking-frontend/v1/availabilityfrom that rule. - Times are off by an hour or more: set Settings → General → Timezone to a city (e.g. “Paris”), not a UTC offset, then check the service’s timezone mode.
- Emails go to spam: WordPress sends mail through your host by default. Install an SMTP plugin and set SPF, DKIM and DMARC for your domain.
- Busy Google events don’t block slots: check availability sync is on and the event is in your Primary calendar. Events marked “Free” in Google don’t block time.
- No dates are bookable: the rolling window may be too short, fixed dates may have passed, or the minimum notice may be longer than the window.
Free Creavi vs paid booking tools
Creavi Appointment Booking Calendar is a free WordPress booking plugin with Google and Outlook Calendar sync, built-in video meetings and no booking limits. Here is how it compares (Calendly figures from calendly.com/pricing, September 2026).
| Creavi (free) | Calendly free plan | Typical paid WP plugins | |
|---|---|---|---|
| Cost | $0 | $0; paid plans from $10 per seat per month | Yearly licence, often with paid add-ons |
| Limits | No plugin-imposed service or booking limits | 1 event type | Depends on licence tier |
| Calendar sync | Google and Outlook, free | 1 calendar connection | Included or sold as an add-on, by plugin |
| Online payments | Not yet | Paid plans only | Usually yes |
| Data ownership | Your WordPress database | Calendly’s servers | Your WordPress database |
For plugin-by-plugin details, see Creavi vs Amelia, Bookly, LatePoint, Booknetic, our free Calendly alternative guide and the 6 best booking plugins of 2026.
Ready to try it? Download Creavi free from WordPress.org.
Our roadmap lists what’s next.
FAQ
How do I add free appointment booking to my WordPress site?
Free appointment booking on WordPress takes four steps with Creavi: install the plugin from WordPress.org, create a service, set your available days and times, then add it to a page with a shortcode, Gutenberg block or Elementor. Setup takes about 5 minutes, and Google Calendar, Outlook and video meetings are included free.
What’s the easiest way to let clients book appointments on WordPress?
The easiest way to let clients book appointments on WordPress is a booking plugin with a popup button. With Creavi, you create a service, pick weekday time slots and paste [creavibc_booking_button id="123"] anywhere. Clients pick a date, a time and enter their details, and both sides get a confirmation email.
Can I sync WordPress bookings with Google Calendar for free?
WordPress bookings can sync with Google Calendar for free using Creavi. Each service connects to a Google account, and every new booking is added as an event. With availability sync on, busy times in your Google Calendar are blocked on the booking page, which prevents double bookings. Outlook Calendar works the same way.
How do I add a booking button in Elementor?
A booking button in Elementor is added with the Shortcode widget. Create a service in Creavi, copy its button shortcode, for example [creavibc_booking_button id="123"], then drag Elementor’s Shortcode widget onto the page and paste it. The button opens a booking popup. Use the inline shortcode for an embedded calendar instead.
Is Creavi really free, and are bookings limited?
Creavi is free on WordPress.org and sets no limits on services or bookings. Google and Outlook Calendar sync, built-in video meetings, reminders, custom fields and CSV export are included at no cost. The practical capacity depends on your WordPress hosting. Online payments are not supported yet.
Can I add a booking form to WordPress without monthly fees?
A booking form can be added to WordPress without monthly fees by using a free plugin that stores bookings in your own database. Creavi has no subscription or per-booking fees. A plain contact form also costs nothing, but it cannot show real-time availability or block times that are already booked.
Does Creavi support Outlook and video meetings?
Creavi supports Outlook Calendar and video meetings for free. Each service can connect to Outlook to create events and block busy times. For online appointments, choose built-in video, which creates a meeting link automatically, or add your own Zoom, Teams or Google Meet link. Phone and in-person meetings are also available.
What is the Creavi booking shortcode?
The Creavi booking shortcode comes in two forms. [creavibc_booking_button id="123"] shows a button that opens a booking popup. [creavibc_booking_inline id="123"] embeds the full calendar in the page. Replace 123 with your service ID, shown in the service editor. Both work in the Shortcode block, Elementor and other page builders.
Start taking bookings today
- Download Creavi free from WordPress.org →
- Try the live demo and book a test slot
If Creavi saves you a monthly subscription, a 5-star review on WordPress.org helps other small businesses find it.
About the author: Julia Samoilenko is a Technical Product Manager and WordPress developer at Creavi, where she builds the Creavi Appointment Booking Calendar plugin. She has worked as a lead software engineer on WordPress, WooCommerce and SaaS booking products.
Disclosure: Creavi makes the Creavi Appointment Booking Calendar plugin. We aim to state its limits as clearly as its features.
2 Comments
[…] to Creavi? Start with our step-by-step guide on how to add appointment booking to WordPress, then come back here to connect your […]
[…] The complete setup, from install to test booking, is in our guide on letting clients book appointments on your website. […]